BOMBANANA Walkthrough Quick Answer: Relay Information in One Order
A useful BOMBANANA walkthrough is a repeatable handoff, not a list of magic button presses. Start by assigning the bomb handler, the manual reader, and the communication bridge. The handler sees and touches the module, the manual reader interprets the rule, and the bridge keeps the final instruction short enough to survive the timer. This boundary is what makes the page different from the broader BOMBANANA gameplay guide.
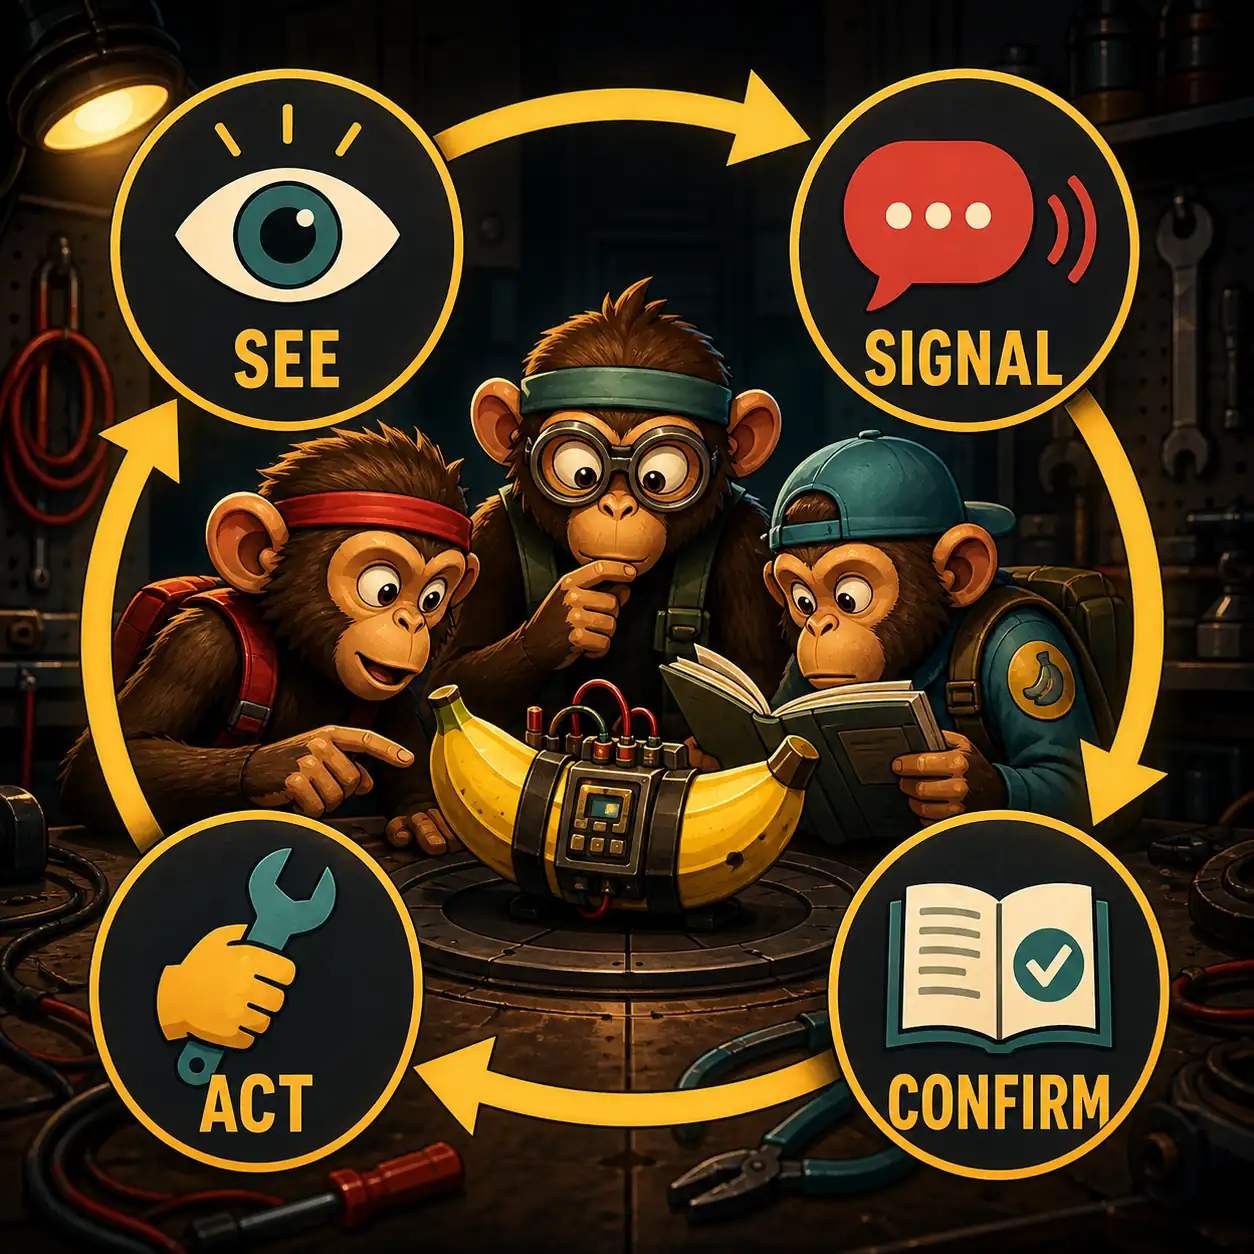
For every module, use the same order: observe the current state, describe only the useful details, find the matching branch in the manual, repeat one final action, confirm it, and then act. If the screen changes, stop and begin the callout again. The public Steam pages identify the demo and the three-role premise, but they do not provide a permanent answer key for every possible puzzle state. A walkthrough that admits that limit is safer and more reusable than an invented spoiler list.
Before the BOMBANANA Timer Starts
Open the official BOMBANANA Steam page and check that everyone is entering the same product. The demo and main game have separate Steam listings, so do not copy a claim from a video or mirror page and treat it as a rule for every build. This site is a fan guide, not a download host: use Steam for the install route and treat APK, browser-clone, repack, and “full manual PDF” pages as unverified unless the developer links them.
| Role | Owns this information | Opening call |
|---|---|---|
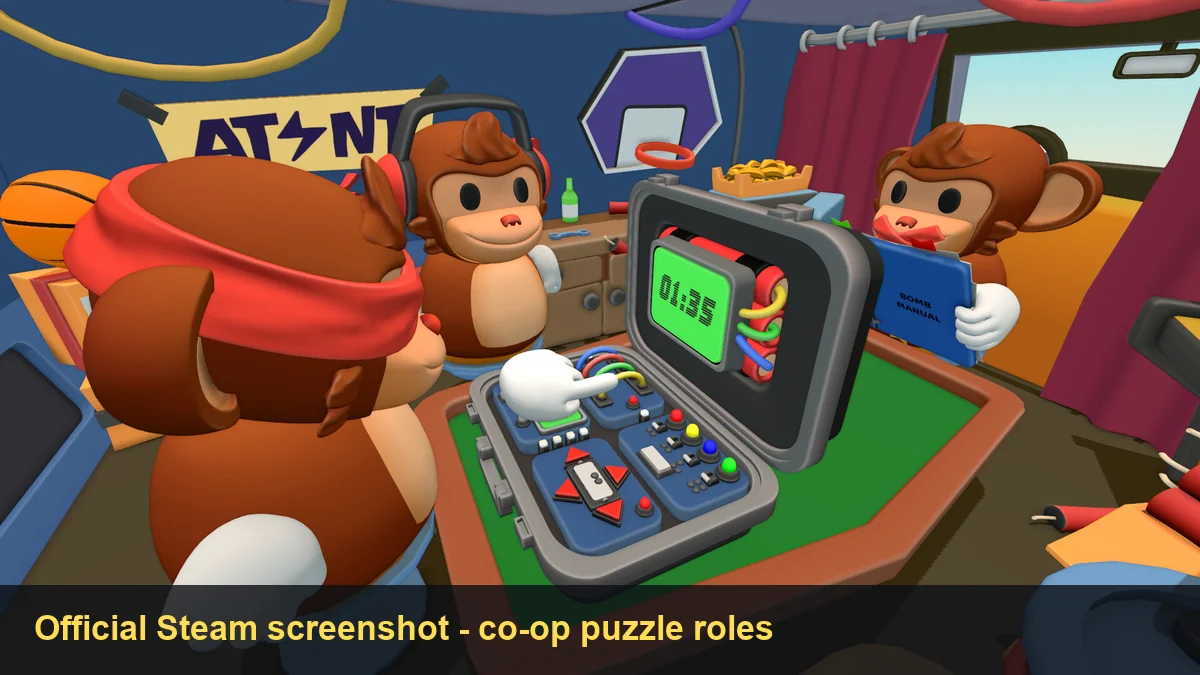
| Bomb handler | Visible module state and physical controls | “Module name, position, color, number, direction, and current light.” |
| Manual reader | Rule branch and allowed action | “I need the module state again if one detail is missing.” |
| Communication bridge | Shared wording and final confirmation | “I will repeat one action; say stop if it is wrong.” |
Agree on a small vocabulary before play: yes, no, repeat, stop, left, right, wait, and solved. Do not add ten gestures before the first module. The goal is to make one message unambiguous, then expand the vocabulary only when the team knows what caused a miss. For invitations and lobby troubleshooting, use the separate play-with-friends guide instead of duplicating that intent here.
7 BOMBANANA Walkthrough Steps for Each Module
- Confirm the role boundary. The handler is the only player who should touch the bomb. The manual reader should not guess from a remembered answer, and the bridge should not silently rewrite a direction. Say who owns the next action before the countdown becomes stressful.
- Scan before touching. Name the module and report the visible state in a consistent order. Depending on the module, that can include a number, color, direction, switch position, symbol, light, wire layout, or current screen. If a detail is hidden, say “unknown” instead of filling the gap from memory.
- Make the description narrow. The manual reader rarely needs a story. Give the exact facts required by the current rule branch, then stop. A long stream of guesses makes it harder for the bridge to know which sentence is the actual instruction.
- Translate the manual branch. The reader checks the current manual or in-game rule and turns it into one action, one question, or one wait state. If the rule has multiple branches, ask for the missing fact instead of announcing every branch aloud.
- Repeat one final action. The bridge says the action back using the same perspective as the handler: left or right, top or bottom, press or hold, move or wait. The handler answers yes or no. This repeat is the error check, not wasted time.
- Act and report the result. Only after confirmation should the handler press, toggle, cut, move, or wait. Immediately report what changed: solved, unchanged, new light, new number, new position, or failure. A changed module is a new state, so it needs a new callout.
- Record the progress boundary. At the end of a bomb or demo segment, note what the current build actually showed: mission marker, completion screen, module sequence, or return-to-menu state. Do not turn one team’s observed route into a permanent official level count. The separate levels guide explains why missions, bombs, attempts, and modules should be counted separately.
This seven-step order is intentionally slower than a speedrun. It gives a first team a way to locate the failure: bad scan, missing fact, wrong manual branch, changed wording, premature action, or incorrect progress note. Once the team can finish one module cleanly, shorten only the parts that are already reliable.
Module Examples: What to Report, Not What to Invent
A walkthrough becomes misleading when it pretends that one remembered answer works for every state. Use the examples below to decide what to describe. The exact action must still come from the current manual and the visible build.
| Module family | Useful first report | Safe follow-up |
|---|---|---|
| Wires or cables | Number of wires, colors, positions, and any visible marks | Repeat the final wire position before cutting; re-scan after any change. |
| Switches or levers | Switch count, current positions, labels, lights, and left-to-right order | Use a shared perspective and confirm whether the rule says press, hold, or wait. |
| Directions or symbols | Arrow direction, symbol shape, color, sequence, and starting position | Say “handler left” or “handler right,” not only “left,” when viewpoints can differ. |
| Numbers or calculator panels | Every visible number, operator, color, and the order in which the panel presents them | Do not publish a guessed formula; let the current manual branch determine the next input. |
Searches such as bombanana walkthrough math, bombanana module guide, and game walkthrough bombanana level 3 point to the same need: players want help at the moment a module becomes ambiguous. The correct response is a precise observation and a reversible check, not a fabricated universal answer. For callout patterns, continue to the BOMBANANA manual guide.
How to Recover When the Walkthrough Breaks
When a module fails, do not rush to the next instruction. First freeze the handler. Then say what changed and whether the module reset, advanced, or stayed active. The manual reader returns to the rule branch, while the bridge repeats only the new action. This procedure is useful even when the team cannot identify the original mistake.
- Stop the hands. No second input until the state is visible again.
- Separate fact from memory. The handler describes what is on screen now; the team does not argue about what it expected.
- Find the branch again. The manual reader checks the current state instead of reusing the previous answer.
- Use one confirmation phrase. The bridge repeats the action and the handler says yes or no.
- Review after the bomb. Change one signal or one role habit, not the entire communication system at once.
If a teammate is unsure, “repeat” is a successful call, not a failure. A clean reset protects the remaining modules and creates notes that can be checked against the next demo update.
What This BOMBANANA Walkthrough Does Not Claim
This page does not claim a fixed level total, a permanent answer key, a solo mode, a four-player ruleset, or a guaranteed transfer of demo progress to the full game. Public Steam information can establish product identity, platform listings, and the existence of the demo, but a fan guide should not turn one session, video, or community post into an official specification.
It also does not distribute an installer or manual file. The page’s official Steam links are fallbacks to the source of truth, not direct file downloads. Recheck the Steam listing before a team session because a demo, release window, or module state can change during development.
BOMBANANA Walkthrough FAQ
What is the safest BOMBANANA walkthrough order?
Assign the three roles, identify the module, describe its state, translate the manual branch, repeat the final action, act only after confirmation, and report the new state.
Does this BOMBANANA walkthrough give every puzzle answer?
No. Public Steam information does not publish every module answer, and demo states can change. Use the current manual and visible module state instead of an invented permanent spoiler sheet.
How do I recover when a BOMBANANA module changes?
Stop the handler, describe the changed state again, return to the manual branch, repeat the action, and confirm before touching the controls again.
What does “BOMBANANA walkthrough math” mean?
It usually signals that a player is stuck at a numeric or calculator-style module. Record every visible number and operator, then follow the current rule branch rather than relying on a guessed formula.
Can I use this walkthrough for four players?
The public premise is built around three distinct roles. A fourth player can observe or help with notes, but this guide cannot confirm a four-player ruleset from current official information.
Where should I get the BOMBANANA demo?
Use the official BOMBANANA Steam page. This site does not host installers and does not verify APKs, browser clones, repacks, or mirror downloads.
Sources and Scope
This guide uses official Steam pages for product identity, demo access, platform context, and release-period facts. A third-party community guide was checked only to understand the kinds of module and callout questions players ask; it is not treated as an official answer key. Search evidence was checked on Aug 9, 2026, and the walkthrough deliberately keeps version-sensitive claims bounded to the current public demo.